

An impressive trip plan can easily look flawless on paper, only to completely fall apart on day two.
This happens when you book every restaurant in advance, schedule every hour, print a seventeen page itinerary, and when you finally land at your destination you find out that the first restaurant is cancelled.
Your reservation, the museum you planned to spend the morning at is closed on Tuesdays, and the driving route you mapped takes forty minutes longer than the app suggested because the app did not account for the morning school run on that particular road.
That kind of planning is done very well. What it actually is, is brittle. It works perfectly in conditions that never exist.
A real trip plan is different. It has anchor points instead of rigid schedules. It has a Google Maps custom map instead of a printed PDF that is already out of date. It has a backup for the things most likely to go wrong, not for every conceivable scenario, just the realistic ones. And it has enough breathing room that when something does go sideways, which it will, you have options rather than a domino chain of cancelled bookings.
This guide builds that kind of plan. It works for city trips, for road trips, for driving trips across multiple countries, and for any combination of the above. Work through the five steps in order. Each one builds on the last.
Why Most First-Time Trip Plans Fail
Before the steps, it is worth being honest about why plans fail, because the failure points are almost always the same ones.
The first is over-scheduling. First-time travelers tend to plan as much as possible into every day because they are afraid of wasting time or missing something.
The result is a schedule that requires everything to run perfectly and collapses the moment one thing does not. A late checkout, a longer-than-expected walk, a conversation with someone interesting in a market, any of these breaks a schedule with no slack built in.
The second is planning for an ideal trip rather than a realistic one. The ideal trip has perfect weather, no queues, smooth transport, and a body that never gets tired. The reality has at least one rainy afternoon, one attraction with a ninety-minute wait, and at least one day where you want to do absolutely nothing because you have been walking eight hours a day for four days straight.
The third is no backup system. No offline maps. No screenshot of the accommodation address. No secondary card. No travel insurance. Everything works until the one moment it does not, and when that moment arrives, the traveler with a backup system handles it in twenty minutes. The one without it handles it in two days.
The five steps below fix all three.

Step One: Start With Anchor Points, Not a Full Schedule
An anchor point is a fixed commitment you actually care about. It is the thing you booked this trip for, or the thing you would genuinely regret missing. Everything else in your plan builds around it.
For most trips, you have between two and five real anchor points. A specific museum. A town you have wanted to visit for years. A restaurant you read about that requires a booking. A national park that needs a specific permit. A festival that only happens on certain dates.
Write those down first. Put the date and time next to each one where applicable. Then leave the rest of the schedule open, as windows of time between anchors where you move through places without a fixed agenda.
This structure does two things. It guarantees you get the things that actually matter to you. And it gives you enough flexibility that the inevitable delays, the wrong turns, the extended conversations over coffee, and the better-than-expected discovery around a corner can happen without costing you anything.
The ratio that works for most first-time travelers is one anchor point per day at most, usually in the morning when energy is highest and transport is most predictable. Leave afternoons and evenings mostly unscheduled.
If you are planning a road trip across multiple locations, your anchor points become the towns or landmarks you will not drive past without stopping. Pick those first. Then work out the route.

Step Two: Plan Your Road Trip Route (or Flight Logic) Around Reality
Route planning is where the optimism gap shows up most clearly. The distance looks manageable on a map. The drive time the app gives you looks reasonable. Then you factor in fuel stops, meal breaks, slower roads through towns, and the fact that three hours of driving is genuinely exhausting and not a pace most people sustain comfortably for more than one or two days in a row.
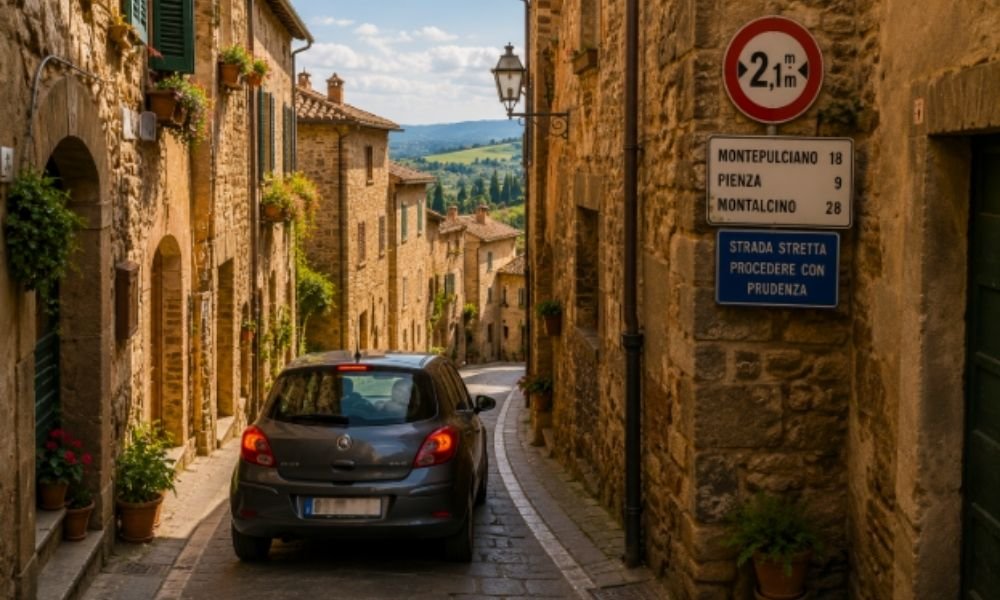
For road trips and driving trip planning:
The one-direction rule saves more road trips than any other single piece of advice. Always drive in one direction rather than looping back.
A loop is efficient on a map. In practice, it means you are retracing ground you have already seen, and if something goes wrong at the far end of the loop, you have the longest possible drive back. Drive from A to B and fly or take a train back. Or drive A to B to C and return from C. The route shapes like an arrow, not a circle.
Daily driving distance for first-time road trippers should stay under three to four hours of actual driving per day. That sounds conservative until you factor in that you will stop for fuel, stop for food, stop because something looked interesting, stop because someone in the car needed a bathroom forty minutes ago. A three-hour drive on paper becomes five hours on the road without any of those stops being optional.
Highway distance and real-world distance are different things. A hundred kilometres on a motorway takes about an hour. A hundred kilometres on a mountain road through villages takes three. Check the route type, not just the distance.
Note tolls in advance. Several countries in Europe, South America, and parts of Asia operate toll road systems that require either cash, a local payment card, or a pre-registered transponder. Arriving at a toll without the right payment method creates a problem that is avoidable with ten minutes of research before you leave.
For trips involving flights:
Layover time minimums matter more than the booking platform suggests. Most platforms flag connections under sixty minutes as tight. For international connections that involve clearing customs, reclaiming checked luggage, and rechecking, ninety minutes is the genuine minimum and two hours is comfortable.
If you miss the connection because the first leg ran late, the airline is responsible for rebooking you if the connection was on one ticket. If it was two separate bookings, you rebook and pay yourself. Buy connections on one ticket where possible.
Budget carriers save money on the fare and cost it back in baggage fees, strict timing, and remote airport locations that add an hour of ground transport each way. Factor the full door-to-door cost and time before assuming a budget carrier is actually cheaper than the alternative.
Step Three: Build Your Google Maps Trip Plan
This is the practical tool that ties the whole plan together. Google does not have a dedicated trip planning application, but Google My Maps does almost everything a dedicated tool would do, it is free, it works on your phone offline once you have set it up, and it is shareable with anyone you are traveling with.
Here is how to build a trip plan in Google My Maps from scratch.
Create the map:
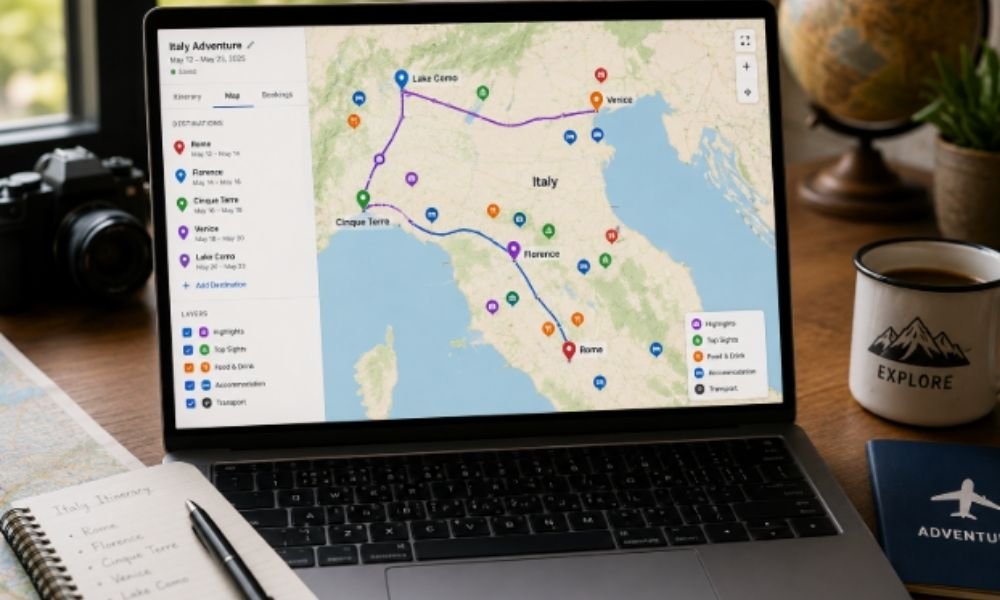
Open a browser and go to google.com/mymaps. Sign in to your Google account. Click the button that says Create a New Map. A blank map opens with an untitled layer in the left panel. Click on the map title at the top left, which will say Untitled Map. Type in a name for your trip. Something like Portugal Trip or Road Trip South France. Save it.
Set up your layers:
Layers are the organisational structure of your map. Think of each layer as a category. For a road trip with multiple overnight stops, create one layer per town or region you are visiting. Name them Day 1, Day 2, Day 3, or name them by location, Lisbon, Sintra, Porto. For a single-city trip, create layers by type instead: Hotels, Restaurants, Attractions, Transport.
To add a layer, click Add Layer in the left panel. Name it. Click on it to make it the active layer. Anything you pin now goes into that layer.
Add your locations:
Use the search bar at the top of the map to find each place you want to pin. When the location comes up, click Add to Map. A pin drops on your map and the location appears in your active layer. Do this for every accommodation, every attraction, every restaurant you want to try, every transport hub you are passing through.
Add notes to each pin. Click on the pin, then click the pencil icon to edit. In the description field, add whatever you need to remember: the check-in time, a booking reference, a note that says book tickets in advance, the opening hours you looked up so you do not have to look them up again.
Add a driving route:
Click on one of your location pins. In the pop-up box, look for the small icon that looks like a road with a turn arrow. Click it. This starts a route from that pin. A new layer appears in the left panel labelled Directions. Add your next stop in the destination field. The route draws on the map.
You can add up to ten stops per route. Drag the stops to reorder them. The total driving time and distance appears in the Directions layer. Click the three dots next to the layer name and select Step-by-step directions to see the full breakdown.
Download for offline use:
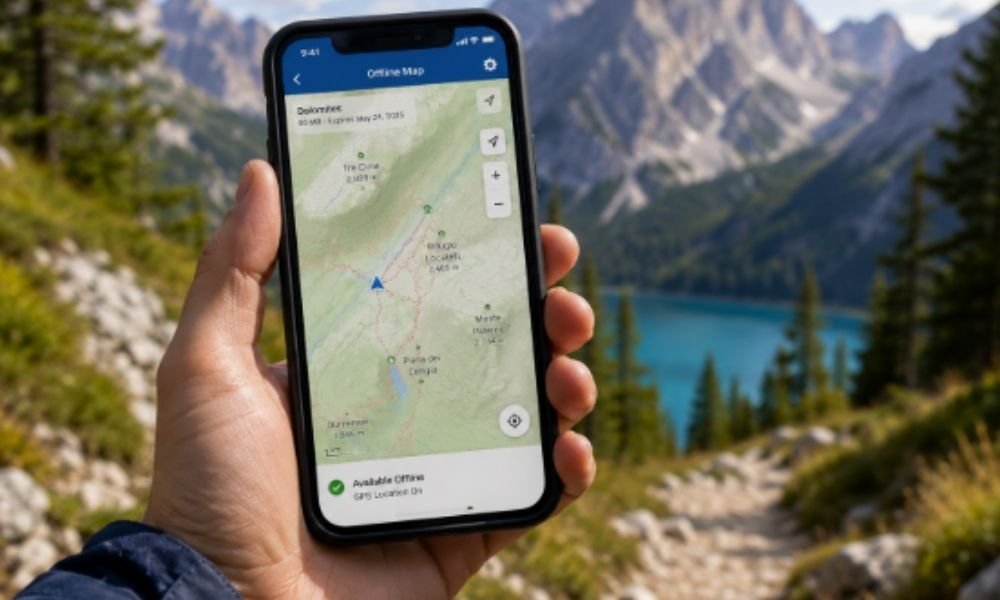
This is the exact step most people skip, and it is always the one they regret most. A custom My Maps map does not automatically work offline. You must download offline maps separately for every single region you plan to visit.
Open the Google Maps app on your phone. Tap your profile icon at the top right. Select Offline Maps. Select Select Your Own Map. A box appears over the map. Move and resize the box to cover your destination region. Tap Download. Do this for every region you are visiting, and do it before you leave home WiFi, because the files are large.
Your custom My Maps pins do not disappear when you go offline. Your saved pins and lists stay visible. What you lose without offline maps is the base map itself, the roads and labels and context. Download both.
Share with travel partners:
Click the Share button under your map name in the left panel. Turn on link sharing. Copy the link. Anyone with that link can view your map. If you want them to be able to add pins, change the permission to Can Edit before you share.
Step Four: Build the Backup System Before You Need It
Most trip plans have no backup system because building one is like planning for failure. That framing is wrong. A backup is not pessimism. It is the difference between a problem that costs twenty minutes and a problem that costs twenty hours.
These are the four backup systems worth building before every trip.
Offline access to critical information:
Screenshot or download offline copies of your accommodation addresses, booking confirmations, and transport tickets. The specific scenario this prevents is arriving in a new city after a long travel day, your phone roaming not connecting immediately, the accommodation address only existing in an email you cannot open, and standing outside an unfamiliar train station at 11 p.m. trying to work it out.
Save accommodation addresses to your Google Maps offline area so they appear even with no signal. Add them as pins with the check-in time and any door code or key collection instructions in the notes field.
A backup payment card:
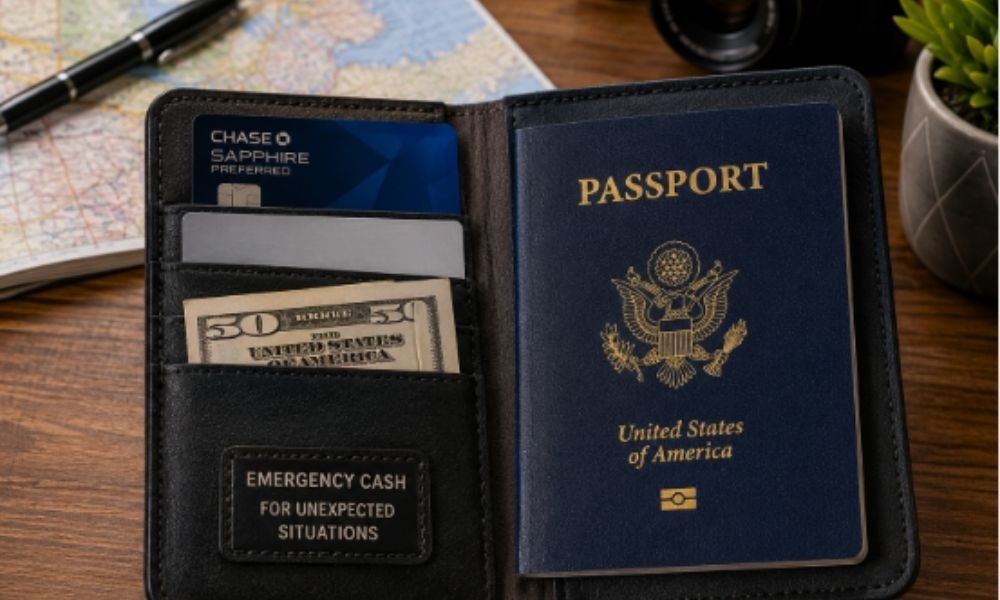
Keep one card from a different account in a separate part of your bag from your main wallet. Not a different pocket of the same wallet. A different place entirely. If your main wallet is stolen or your primary card is blocked by your bank in error, which happens, you have an immediate solution that costs you nothing to set up in advance.
Travel insurance:
This is the backup system most first-time travelers skip and most experienced travelers consider non-negotiable. A medical evacuation from a remote destination without travel insurance can cost more than most people earn in several months. A cancelled trip due to illness without insurance means you absorb the full cost of flights and accommodation you cannot use.
SafetyWing offers travel medical insurance starting from a few dollars a day, with the option to purchase even after you have already left home. That flexibility matters because it means the answer to did you sort travel insurance is never too late to be yes.
One offline accommodation option per major stop:
For each town or city on your route, know the name and address of one alternative accommodation option you have not booked. Not fully researched, just noted. If your booked accommodation falls through, has a problem on arrival, or turns out to be genuinely different from how it was presented, you have a starting point for finding an alternative rather than starting from nothing at 10 p.m. in an unfamiliar place.
Step Five: The Driving Trip Planning Checklist
If any part of your trip involves driving, run through this checklist before you leave. These are the details that feel minor until they are not.
The car:
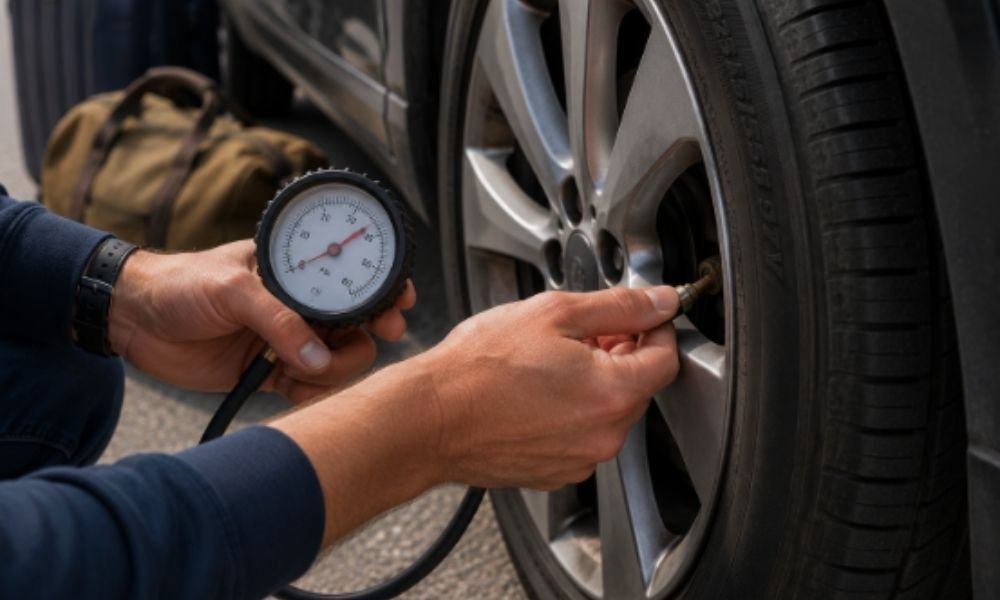
Check oil and coolant levels before a long driving trip, especially if the car has sat for a while. Check tyre pressure including the spare tyre. Know where the spare tyre is and confirm you have the tools to change it. This sounds excessive until you have a flat tyre on an empty road in a country where you do not speak the language and discover the spare is flat too.
Confirm your rental agreement covers the countries you are planning to drive through if you are crossing borders. Many rental agreements exclude specific countries or require an additional fee for cross-border travel. Check before you drive across a border, not at the border.
Fuel:
On remote driving routes, map your fuel stops before you leave. Some rural stretches in southern Europe, North Africa, parts of Australia, and the American Southwest have long gaps between service stations. Running out of fuel on a remote road is not a mechanical failure. It is a planning failure that is entirely avoidable.
Note whether your destination uses a different fuel standard. Some countries in Europe have petrol pumps labelled differently from what you are used to. Diesel and petrol nozzles are different sizes in most cars, but the labels vary by country. Check before you fill up.
Tolls and road rules:
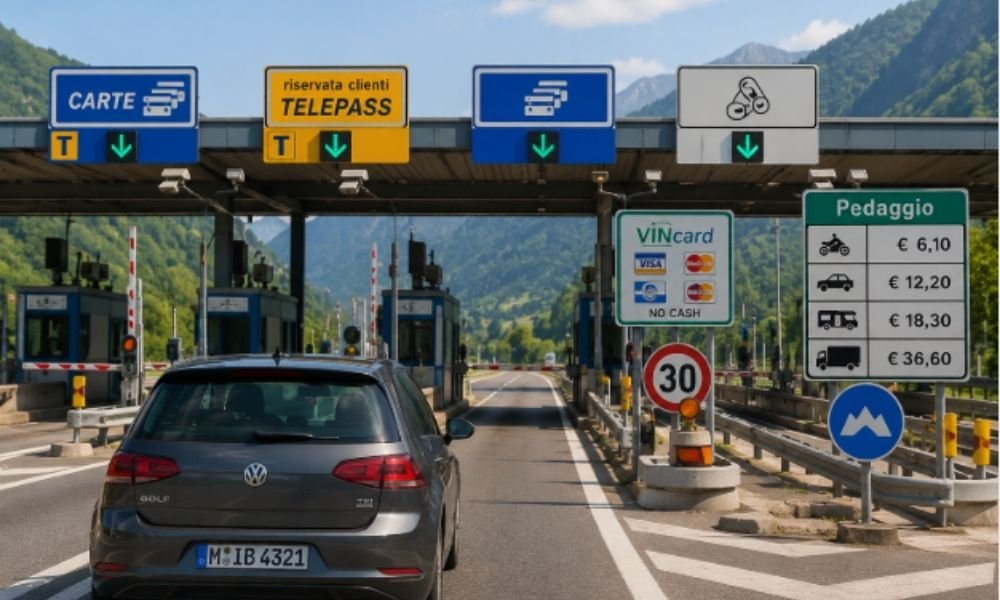
Research toll roads on your route and whether they require pre-registration, a specific payment method, or a transponder device.
France, Spain, Portugal, Italy, and Austria all have toll systems. Several countries require a motorway vignette, a sticker or digital permit, for driving on their highways. Hungary, Switzerland, Austria, and the Czech Republic all require one. Driving on those highways without one results in a fine.
Know the local speed limits and whether they differ from what you are used to. Many European countries have specific speed limits for motorways, rural roads, and built-up areas that differ from each other. Some have variable speed limits in rain or poor weather conditions.
Check whether your destination drives on the left or the right if it differs from your home country. If you are not used to it, the first hour on the road needs more attention than the sat nav. Keep the sat nav volume up so you hear directions without looking down.
Parking:
City centres in Europe frequently have restricted parking zones, permit-only streets, and low-emission zones that charge older vehicles a daily fee. Research parking for any city you plan to drive into rather than assuming you can find somewhere when you arrive. Park and ride systems on the outskirts of most major cities are significantly cheaper and more practical than trying to park in the centre.
Frequently Asked Questions
How do I plan my road trip from scratch?
Start with your anchor points, the two or three specific things you will not miss regardless of anything else. Then plan the route between them using the one-direction rule, driving from start to finish rather than looping back. Add stops based on what is between those anchors, not what requires the longest detour. Build the route in Google My Maps with one layer per day or per location. Download offline maps before you leave. The rest fills in as you travel.
What is the best free road trip planner?
Google My Maps is the most capable free trip planning tool available. It allows up to 2,000 pins per map, up to ten stops per route, custom layers by day or category, notes on each pin, offline access via the Google Maps app, and full sharing with travel companions. It does not automatically optimise the order of multiple stops, but for most road trips, you already know the rough order you want. The manual control is more useful than automated optimisation in most cases.
How far in advance should I plan a trip?
For international travel, three to six months gives you access to the best flight prices and accommodation availability. For popular destinations and specific peak periods like school holidays, summer in Europe, or cherry blossom season in Japan, six to twelve months is not excessive. For domestic travel or flexible budget travel, four to eight weeks is workable. The constraint is usually flights and popular accommodation, not the planning itself. Book those first and plan the detail later.
How much should I plan versus leaving it open?
The answer depends on your travel style, but for first-time travelers the general guidance is to plan the things that have real consequences if you miss them, flights, accommodation, timed-entry attractions, and specific restaurant bookings, and leave everything else open. One anchor point per day at most. The anxiety that drives over-planning usually resolves itself after the first day of travel when you discover that figuring things out as you go is genuinely manageable and often more enjoyable than following a script.
What should a driving trip planning checklist include?
It should cover the car itself before you leave, oil, tyres, spare tyre, rental agreement cross-border permissions. It should cover fuel stops mapped in advance for any remote stretches. It should cover tolls and whether they require pre-payment or a specific device. It should cover parking in any city you plan to drive into. And it should cover basic local road rules if you are driving in a country different from your own. None of these take more than an hour to research. All of them create problems if you skip them.
What do I do when my trip plan falls apart?
Use your anchor points as the fixed points you rebuild around. Everything else is adjustable. A cancelled restaurant becomes a walk through a neighbourhood you had not planned to explore. A closed attraction becomes the afternoon off that your body probably needed. A delayed flight becomes the reason you ate in that terminal restaurant that turned out to be surprisingly good. Trip plans fall apart in small ways on almost every trip. The travelers who enjoy those moments are the ones who planned enough structure to feel secure and left enough flexibility to absorb the rest.
As an Amazon Associate, Wandervoyant earns a small commission from qualifying purchases made through links on this page. This comes at no additional cost to you and helps keep this site running. We only recommend products we genuinely believe are worth your money.
Related reading: