Travel luggage checklist mistakes often begin long before you pack your first item into you bag.
Most first-time travelers assume the biggest problem is forgetting to pack something important. In reality, the trouble usually starts before a single item goes into the bag. Many people grab whatever suitcase they own, unzip it, and begin filling it without a plan.
There is no thought about what belongs where, whether the luggage is actually suitable for the trip, or how much weight the airline allows. Everything seems fine until they arrive at the airport and watch the number on the check-in scale climb higher than expected.
A good trip does not start with packing clothes. It starts with choosing the right luggage, understanding your travel needs, and following a travel luggage checklist that helps you pack smarter from the very beginning.
That is the mistake. Not the packing. The setup before the packing.
This travel luggage checklist fixes that. It starts where every good packing session should start, with the bag itself, and works through to the method you use to close it.
By the end, you will know what luggage to bring, what to put in it, how to divide it across the different zones of your bag, and how to actually get it to shut without sitting on it.
Go through this three days before your trip. Not the night before.
Step One: Choose the Right Bag Before You Pack a Single Thing
Every packing problem has a version that starts with the wrong bag. The person who brings a 70-litre backpack to a four-day city break and spends the whole trip dragging dead weight through cobblestone streets.
The person who brings a wheeled carry-on to a hiking destination and realises on day one that wheels do not work on mountain paths. The person who packs everything into one giant checked suitcase, pays the fee, and then stands at the baggage carousel for thirty-five minutes on every leg of a four-city trip.
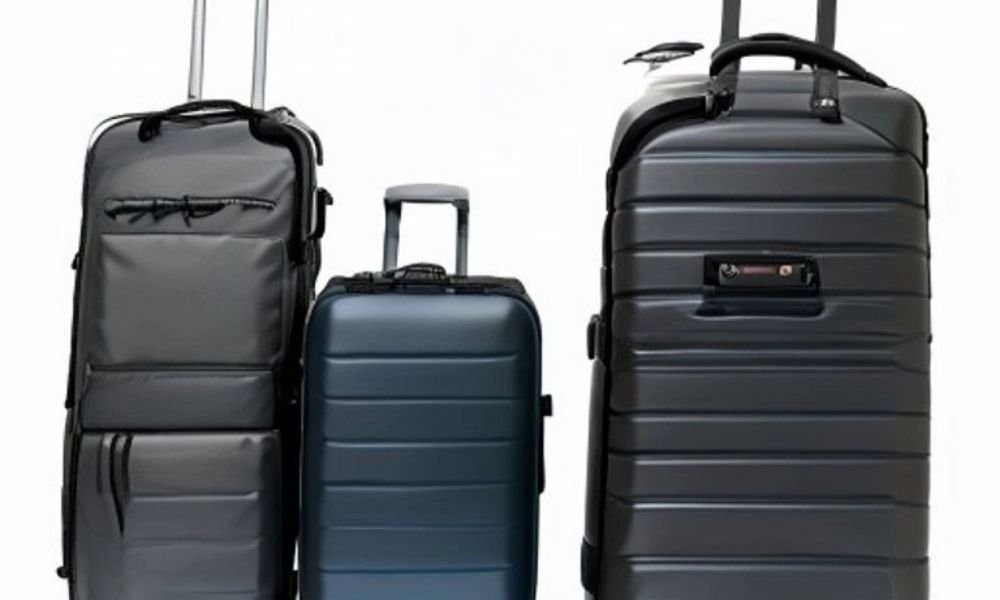
Bag choice is a decision, not a default. Here is how to make it properly.
The carry-on backpack (40 to 45 litres)
This is the right bag for most trips up to ten days, and for longer trips if you are prepared to do laundry on the road.
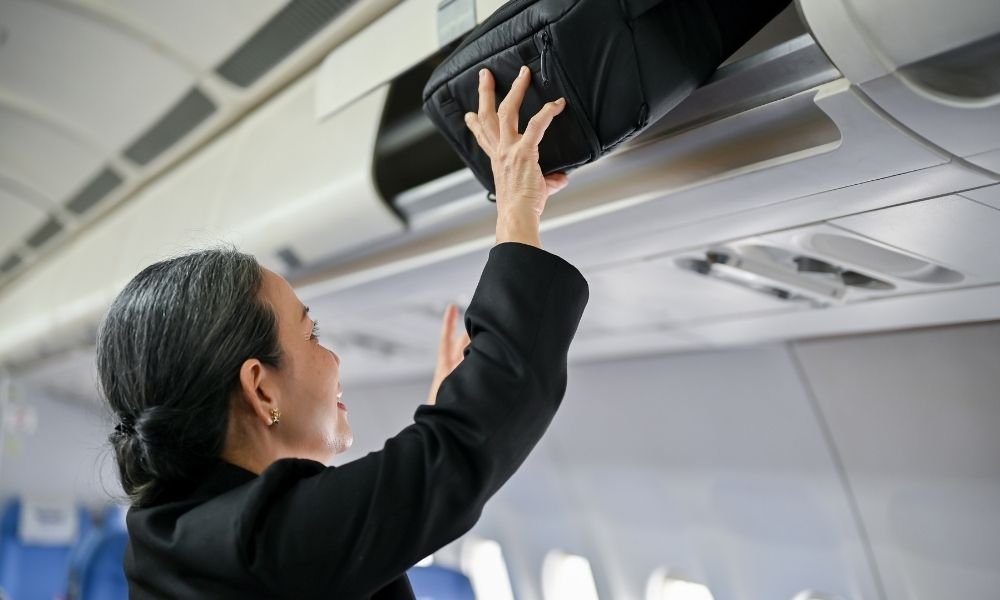
A 40 to 45 litre backpack fits in the overhead bin on most full-service airlines. It goes with you into the cabin. You skip the baggage carousel entirely. You do not pay checked luggage fees. You move faster through every airport and every connection.
The trade-off is discipline. You have a fixed amount of space and you need to use it well. The clothing section below tells you how.
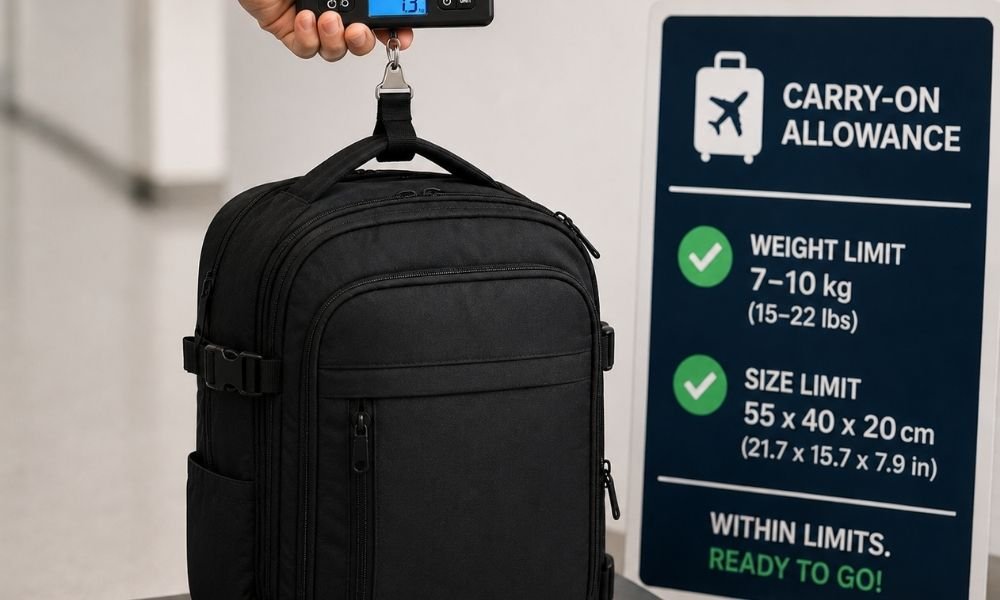
Check your specific airline’s carry-on size limit before you travel. Most allow 40 to 45 litres, but budget carriers can be stricter. Check weight limits too. A bag that fits the size allowance but comes in overweight at the gate costs money you did not plan to spend.
The wheeled carry-on suitcase
Better than a backpack if you are mostly moving between cities with smooth pavements and airport-style surfaces. Harder to manage on rough ground, stairs without lifts, or anywhere that involves walking more than a few hundred metres from a taxi or train. Works well for business travel and short leisure trips where the destination infrastructure is reliable.
Same size and weight rules apply as the carry-on backpack. The bag has to fit in the overhead bin, and the weight limit still applies at the gate.
The checked bag
Necessary for trips longer than two weeks where doing laundry is not practical. Necessary if you are traveling with specialist gear like hiking boots, full camera kit, or medical equipment that cannot go in a carry-on. For most trips under two weeks, a checked bag is an optional extra that costs money and time at both ends of every flight.
If you do check a bag, pack it as if it might not arrive when you do. Keep medications, valuables, documents, electronics, and one full change of clothes in your carry-on. Checked bags get delayed. It is not common, but it happens enough that planning for it is worth thirty seconds of thought.
The day bag (20 to 25 litres)
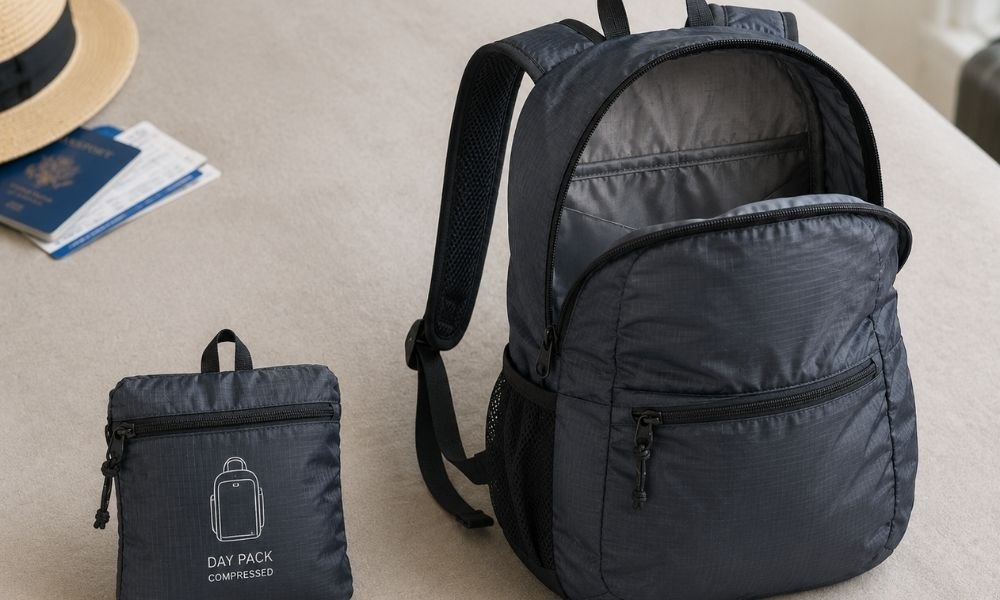
This is the second bag. Every traveler needs one. It is the bag you take out each day once you have dropped your main bag at your accommodation. It holds your phone, your water bottle, your camera, a light layer, your money and cards, and whatever you need for that specific day.
A foldable day pack that compresses into its own pocket takes up almost no space in your main bag and saves you from the alternative, which is carrying your full travel bag everywhere or leaving valuables in a room you are not sure how secure it actually is.
Step Two: The Travel Luggage Checklist by Bag Zone
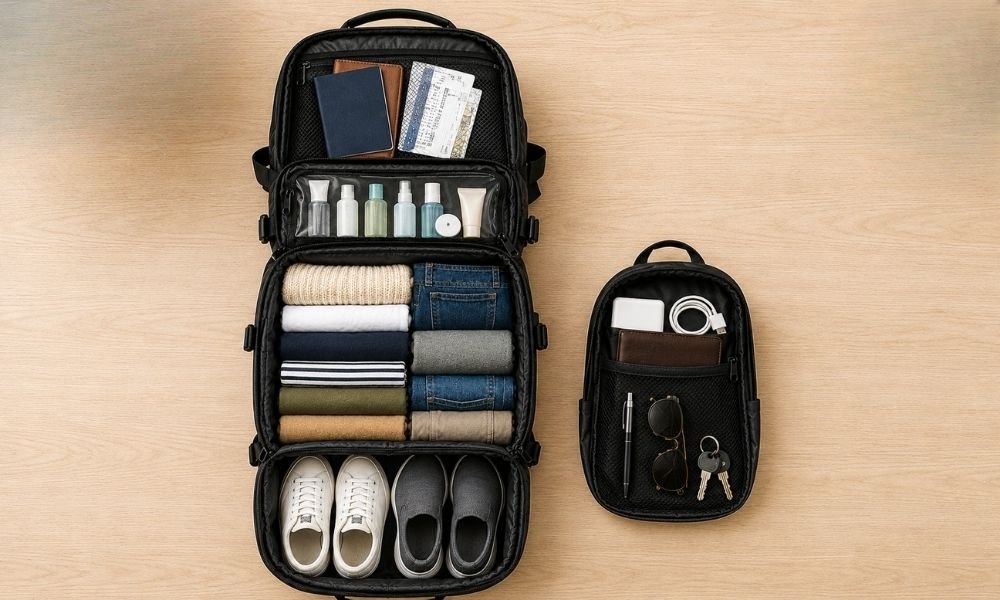
Once you have chosen the right bag, the next mistake people make is throwing everything in at random and trying to find things when they need them. A bag with zones means you know where everything is without unpacking the whole thing.
Here is how to divide your luggage and what belongs in each zone.
Zone One: Bottom of the main bag
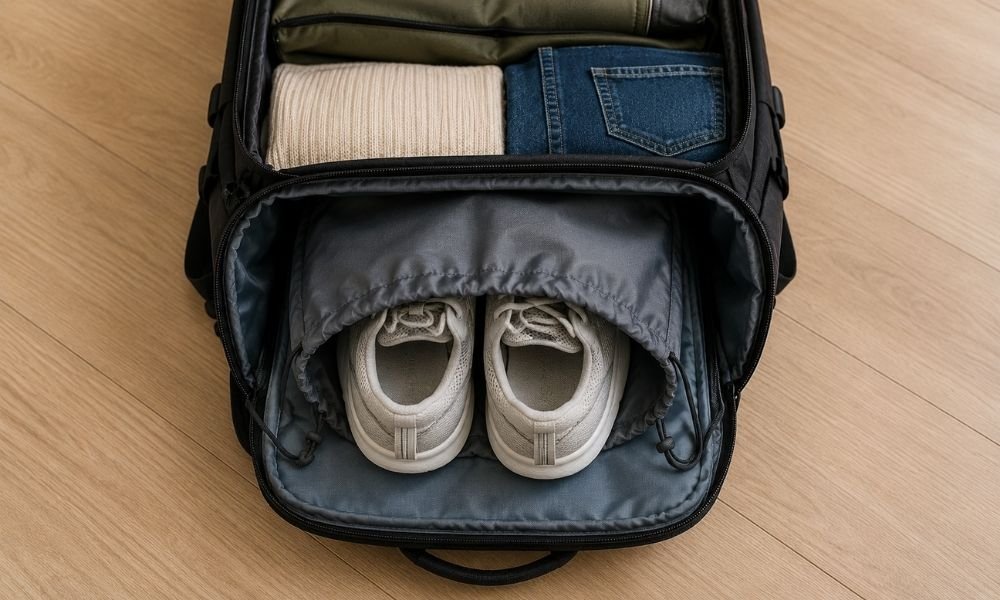
This is where the heaviest items go. Weight at the bottom of a backpack sits closer to your centre of gravity and makes the bag more comfortable to carry. Weight at the top pulls you backward.
What to bring for this zone:
- Shoes, packed inside a bag or a spare carrier to keep the rest of your gear clean
- Compression packing cube with heavier clothing items like jeans or thicker trousers
- Waterproof dry bag containing items that need moisture protection
Zone Two: Middle of the main bag
The bulk of your clothing lives here.
What to bring:
- Compression packing cube for tops and lighter layers
- Second packing cube for underwear and socks
- Packable jacket or fleece, folded into itself
- Swimwear if applicable
Zone Three: Top of the main bag
Items you reach for regularly or need in a hurry belong here.
What to bring:
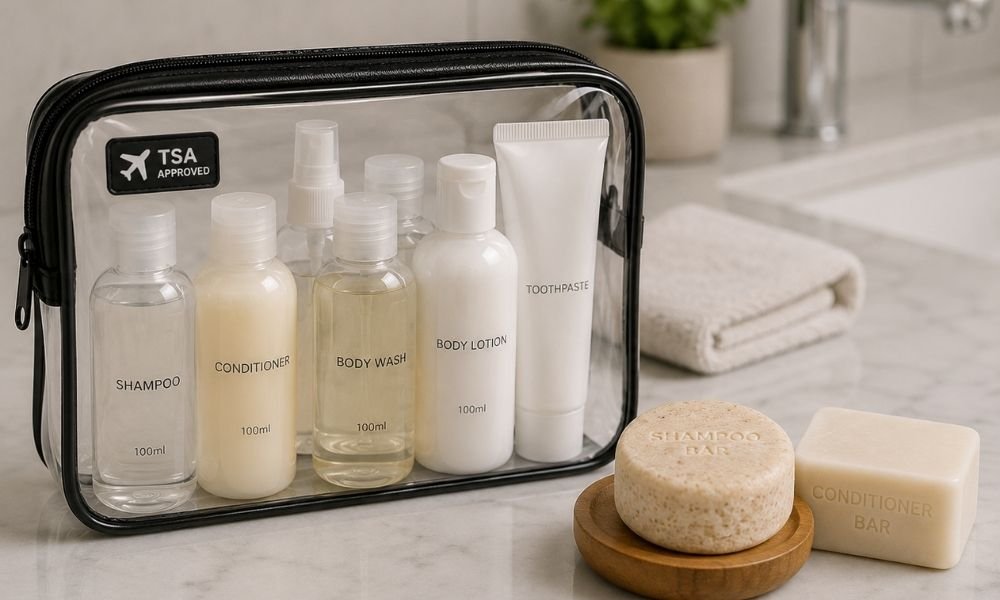
- Clear toiletry bag with all liquids in containers of 100ml or less
- First aid kit
- Quick-dry travel towel
- Sleep mask and earplugs
- Laundry detergent sheets if you plan to wash clothes on the road
Zone Four: The carry-on top compartment or laptop sleeve
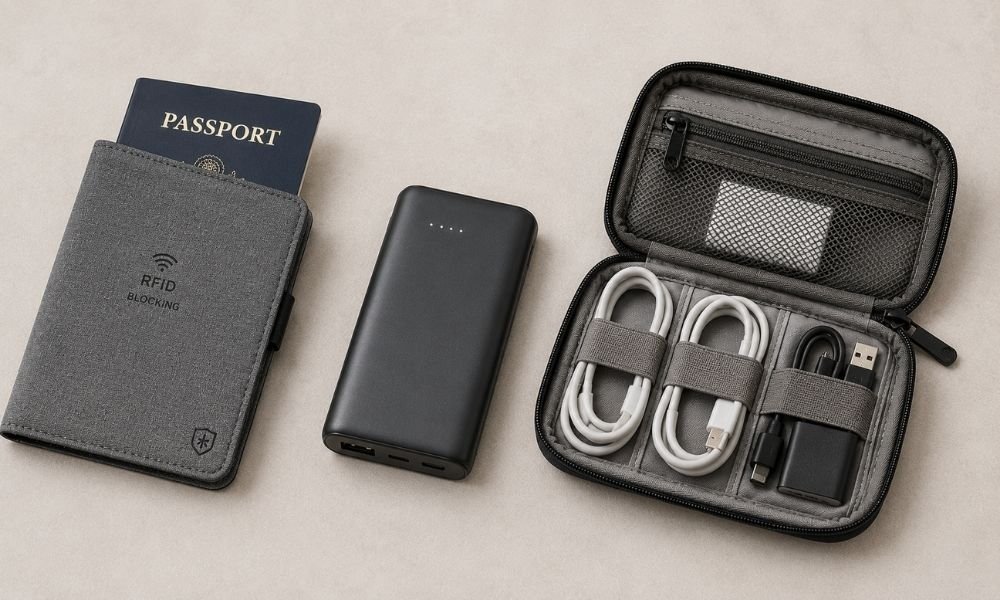
If your bag has a dedicated top compartment or a laptop sleeve, this is where your most important items travel.
What to bring on a trip in this zone:
- Passport and travel documents in an RFID-blocking holder
- All medications in original packaging
- Power bank, fully charged
- Cable and accessories organiser with your charging cables, travel adapter, and earbuds
- Laptop or tablet if you are bringing one
Zone Five: Your personal item day bag
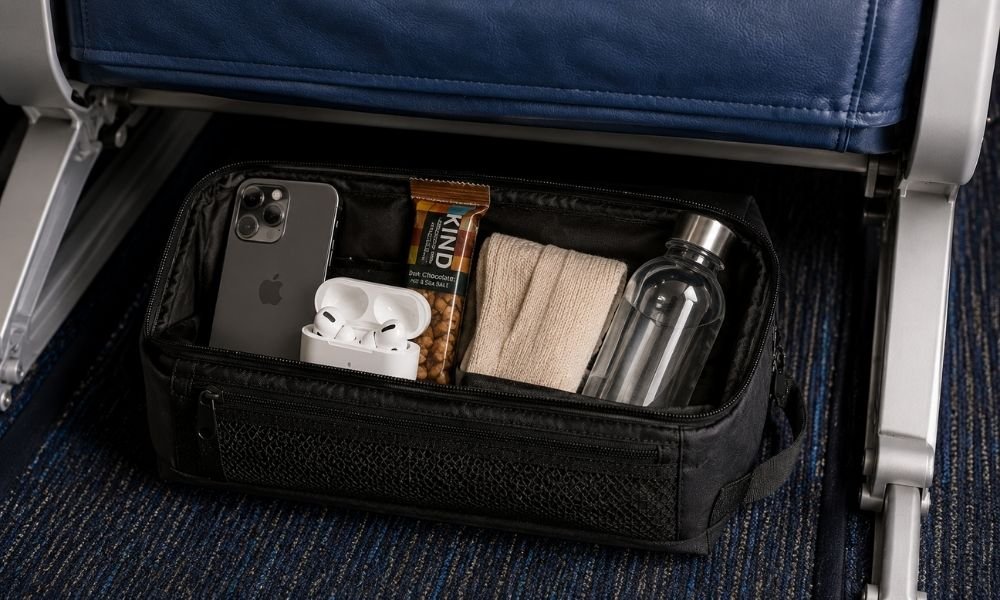
This bag goes under the seat in front of you during the flight. It needs to hold everything you need during the journey itself.
What to take on a trip in your personal item:
- Phone with boarding pass downloaded offline
- Wallet with cards and local currency
- Noise-canceling headphones or earbuds
- Snacks
- Compression socks to put on before boarding
- Sleep mask and earplugs if it is a long flight
- A light layer for the cabin, planes are often cold
- Any medication you might need during the flight
- A refillable water bottle to fill after security
The Travel Items Checklist: What Every Bag Should Include Regardless of Destination
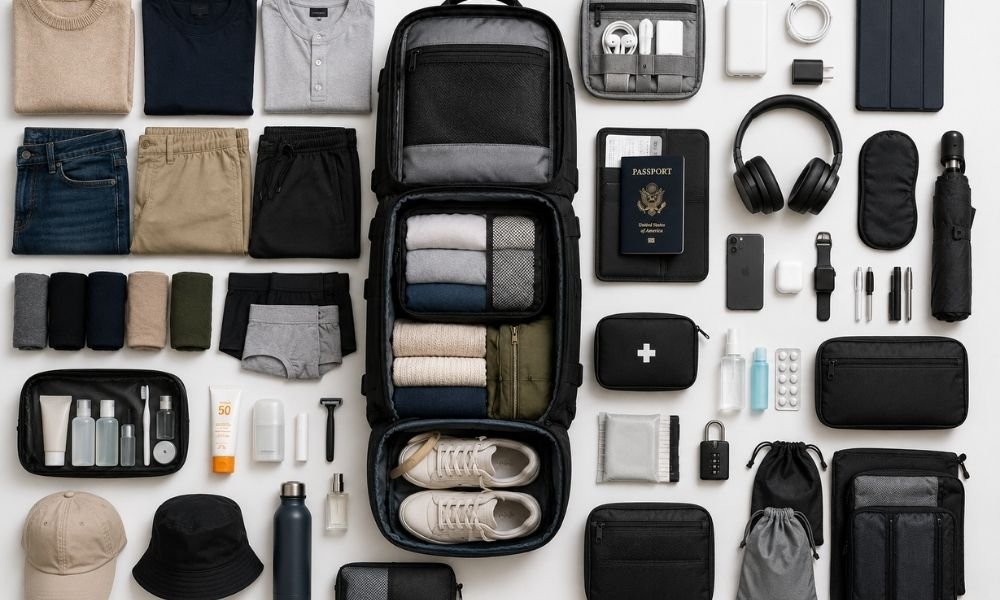
Some items on a travel kit list change based on where you are going. Some do not. These are the ones that belong in every bag, for every trip, with no exceptions based on destination.
Documents:
- Passport, with at least six months of validity beyond your return date
- Printed or offline-saved travel insurance documents
- Accommodation address and booking confirmation for first night
- One backup payment card kept separate from your main wallet
- Small amount of local cash for arrival
Tech:
- Universal travel adapter matching your destination’s outlet type
- 20,000mAh power bank
- Phone charging cable, short version preferred
- Noise-canceling headphones or earbuds
- USB-C multi-port charging hub
Clothing (the seven-day kit):
- Five to seven pairs of underwear in quick-dry or merino wool
- Five to six pairs of socks including one compression pair
- Three to four mix-and-match tops
- Two pairs of bottoms
- One warm layer, packable fleece or down jacket
- One packable rain jacket
- One pair of walking shoes, broken in before the trip
- One lighter pair of shoes or sandals
Health:
- Prescription medications with a few extra days supply
- Small first aid kit with plasters, blister pads, and pain relief
- Electrolyte sachets
- Sunscreen for your destination’s UV level
- Quick-dry travel towel
- Shampoo bar or travel-size toiletries within the 100ml carry-on limit
Safety:
- RFID-blocking travel wallet or passport holder
- TSA-approved combination locks
- Portable door lock
- Slim under-clothes money belt
Organisation:
- Compression packing cubes for clothing
- Waterproof dry bag for electronics and documents
- Clear resealable toiletry bag for liquids
- Cable and accessories organiser pouch
What to Bring on a Trip: The Carry-On Rule for Each Item
Before anything goes in the bag, ask this one question about it.
Can I replace this at my destination for less than it would cost me in stress, bag weight, and checked luggage fees to bring it myself?
Most toiletries: yes. Full-size shampoo, conditioner, body wash, and most cosmetics are available almost everywhere in the world for a similar price to home. Leave the big bottles behind.
Medications: no. Bring them. Your exact prescription may not be available abroad, and tracking it down in a foreign healthcare system while unwell is a situation worth avoiding entirely.
Guidebooks: yes. A 400-page printed guidebook weighs roughly as much as three days of clothing. Download offline maps for your destination before you leave home. That is free, takes up no physical space, and is more current than any printed guide.
Shoes beyond two pairs: almost certainly yes. An extra pair of shoes you bring “just in case” weighs more than most of your electronics and takes up more space than a full clothing category. Two pairs covers every realistic travel scenario.
An extra bag for shopping: yes and no. A foldable tote that compresses into its own pocket and weighs almost nothing: bring it. A second empty duffel for things you plan to buy: leave it home and buy a bag at your destination if you genuinely need one.
How to Actually Pack and Close the Bag
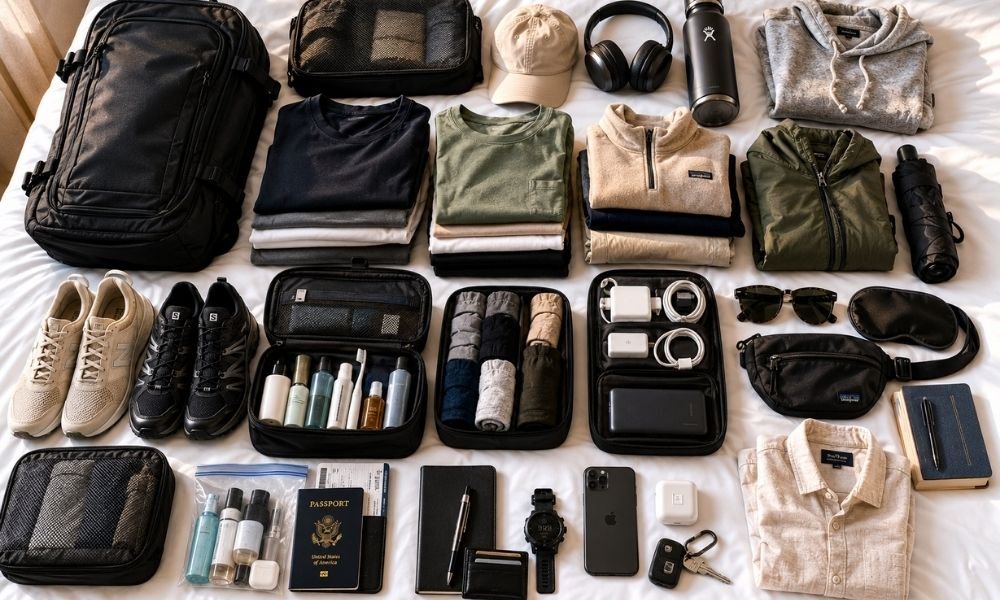
The method matters as much as the contents.
Start by laying everything out on your bed before a single thing goes into the bag. This forces you to see the full picture at once. Most people are surprised by how much they planned to bring when they see it spread out in front of them. Remove anything you cannot give a specific, concrete reason for. Not “I might need it.” A specific reason.
Then pack in this order.
Put your shoes in first, at the bottom. Put them inside a bag to keep the rest of your gear clean. They are the heaviest single items in most travel bags and they anchor the base.
Put your compression packing cube with heavier clothes in next, sitting against your back panel. Then the compression cube with lighter clothes. Then your lighter layers folded small.
Put your toiletry bag, first aid kit, and travel towel toward the top where you can reach them without unpacking everything.
Put your documents, power bank, and electronics in the top compartment or laptop sleeve, or in an accessible exterior pocket.
Now close the bag.
If it does not close without force, you have too much in it. Do not force it. Take it apart, identify the items that are heaviest for their usefulness, and remove those first. The items most likely to come out are the third pair of shoes, the just in case outfit, the full-size bottle of something, and the physical book that seemed like a good idea.
When the bag closes easily, weigh it. For carry-on travel, most airlines allow between seven and ten kilos for the cabin bag. If you are over that, something comes out. If you are under, you are in good shape.
The carrying test: Put the bag on your back and walk around for five minutes. If it feels genuinely comfortable, you have packed it right. If your shoulders or lower back feel the weight within five minutes of putting it on, you will feel it much more acutely after walking eight hours through a city. Take something out.
The Liquids Rule: What Most First-Time Travelers Get Wrong
This applies specifically to carry-on travel, and it trips up more first-time travelers at security than almost any other packing issue.
All liquids in your carry-on must be in individual containers of 100ml or less. All of those containers must fit in a single clear resealable bag, typically one litre in size. You remove this bag at security and it goes through the scanner separately from your main bag.
A bottle that says 150ml on the label is not allowed even if it is only half full. The limit is the container size, not the amount of liquid inside it.
Common liquids that catch people out: full-size moisturiser, contact lens solution, mouthwash, hair gel, lip gloss, aerosol dry shampoo, and any sauce or spread you tried to bring from home. All of these are fine in your checked bag. In your carry-on, they need to be 100ml or under.
The simplest solution is switching from bottled to solid versions of your toiletries where possible. Shampoo bars, conditioner bars, and solid moisturisers avoid the liquids rule entirely. They last longer than bottled versions, they do not leak, and they take up almost no space.
Frequently Asked Questions
What should be in a travel luggage checklist?
A complete travel luggage checklist covers four things: choosing the right bag type for your trip, dividing your bag into zones so you can find things without unpacking everything, a category-by-category list of what to bring, and a method for packing and closing the bag. Most checklists only cover the middle two. The bag choice and the packing method are where most first-time travelers lose time and money.
What is the best bag size for carry-on travel?
Between 40 and 45 litres for most full-service airlines. Check your specific airline’s size and weight limits before you travel, because budget carriers can be stricter. A bag that fits the size allowance but is overweight at the gate will cost you. A 40-litre backpack with good compression packing cubes comfortably fits a seven to ten day trip for most travelers.
What goes in carry-on vs checked luggage?
Your carry-on should hold everything you cannot afford to lose or have delayed: passport and documents, all medications, your power bank (power banks are banned from checked luggage by most airlines), electronics, valuables, and at least one change of clothes. Your checked bag holds the bulk of your clothing, full-size toiletries, and any items that do not meet carry-on size or liquid restrictions.
What to take on a trip for one week?
For one week, carry-on only is almost always achievable. Pack five to seven pairs of underwear and socks in quick-dry fabric, three to four tops, two pairs of bottoms, one warm layer, one rain jacket, two pairs of shoes, your toiletries in travel size or solid form, your tech kit, your documents, and your health and safety items. That covers every day of a seven-day trip with room for a light layer and your day bag essentials.
What to bring on a trip internationally that is different from domestic?
International travel adds a few items that domestic travel does not require: your passport rather than just an ID, travel insurance documentation, a universal adapter for the destination’s outlet type, a travel wallet with RFID blocking for markets and tourist areas where skimming is more common, local currency for arrival before you reach an ATM, and potentially a travel SIM or eSIM if your home carrier charges significant roaming fees abroad.
How do I stop overpacking?
The most reliable method is the lay-out-before-you-pack approach. Put everything you plan to bring on your bed before anything goes in the bag. Look at the pile. Then remove anything that does not have a specific, concrete use on this trip. Not a possible use. A specific one. After doing this for a few trips, you will find your pile gets smaller each time because you will start tracking what you actually used versus what came home untouched.
As an Amazon Associate, Wandervoyant earns a small commission from qualifying purchases made through links on this page. This comes at no additional cost to you and helps keep this site running. We only recommend products we genuinely believe are worth your money.
Related reading: